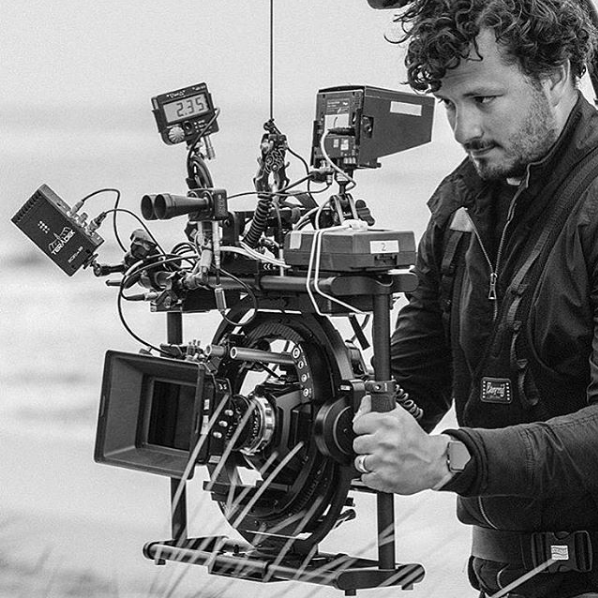
Image source: Instagram feat. Sebastion Wiegärtner
There are endless possibilities when it comes with rigging your camera . Depending on your project, your camera will have an assortment of accessories that supplement it. This won’t be an easy task to accomplish, as managing your devices on a camera with limited space can come with difficulties. So if you’re in any way lost on how to begin strapping devices to your camera, we’ll provide a list of methods you can employ to find the best setup for your rig.
General Rules
There are a number of tips to get the most mileage out of your gear and keep things safe on the production site as well.
For devices with wireless connectivity, keep antennas clear of obstructions. The less objects the antennas must go through, the better the signal. This includes mounting antenna devices as high on the rig as possible, because the more clutter, the more interference.
In addition, keep all devices locked down. This means having devices attached to the camera or other solid objects that have more stability. This will reduce their chances of falling off and potentially breaking/hurting someone.
1. Hot Shoe Adapter
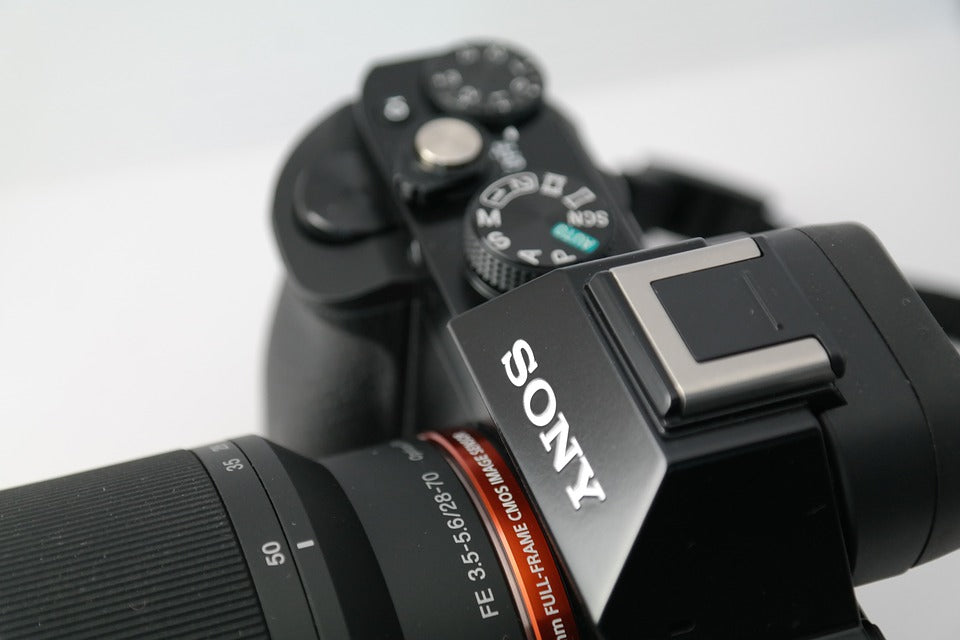
A very convenient solution, the hot shoe is a compartment located at the top of most consumer and prosumer cameras. Many camera devices come with this apparatus pre-installed, with the purpose of being mounted above the video camera. Devices like Teradek’s Bolt, Cube and VidiU Pro all come with a hot shoe adapter.
Pros:
- Convenient
- Stable
- Built-in
- Quick
- Usually located at the highest point of the camera
Cons
- Typically only 1 slot built-in to cameras. Limited.
A good option for your most important device to be mounted. There are also hot shoe adapters that extend the number of hot shoe slots you can have on your camera such as this Vello Extension.
2. Mounting Screws
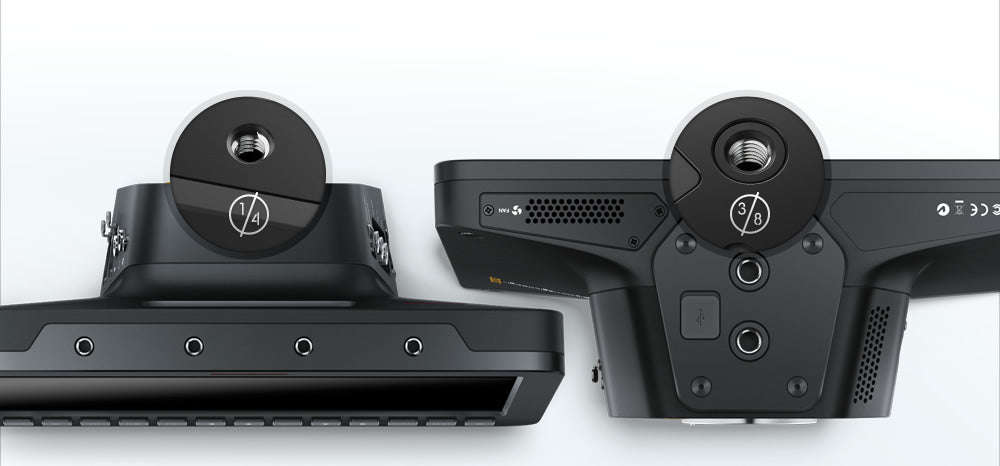
Mounting screws are also an excellent way to fasten devices to a camera. They provide a stable point for devices like encoders to be held in without any risk of falling off.
Mounting screws have 2 universal sizes that most professional cameras use. ¼ 20” screws and ⅜ 16” screws. Find the size of your camera’s and devices’ screw ports to ensure compatibility.
Pros:
- Convenient
- Stable/Secure
- Can be located on top or sides of camera
Cons:
- Limited number of mounting points.
- Only available on certain cameras.
A lot of cameras are designed so users can add their own camera cages to expand the number of mounting points and make it more customizable. These camera cages will allow users to mount more devices around it.
3. Velcro
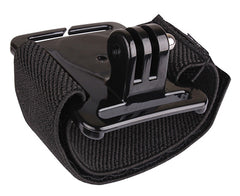
A very popular method, velcro lets camera crew literally strap a device anywhere on a camera.
Pros:
- Cheap
- Convenient and easy to install
- Quick
Cons:
- Heat from the camera and other devices cause adhesive to deteriorate and devices to get looser.
- Rough handling or high speeds can easily detach any accessory.
4. Bongo Ties
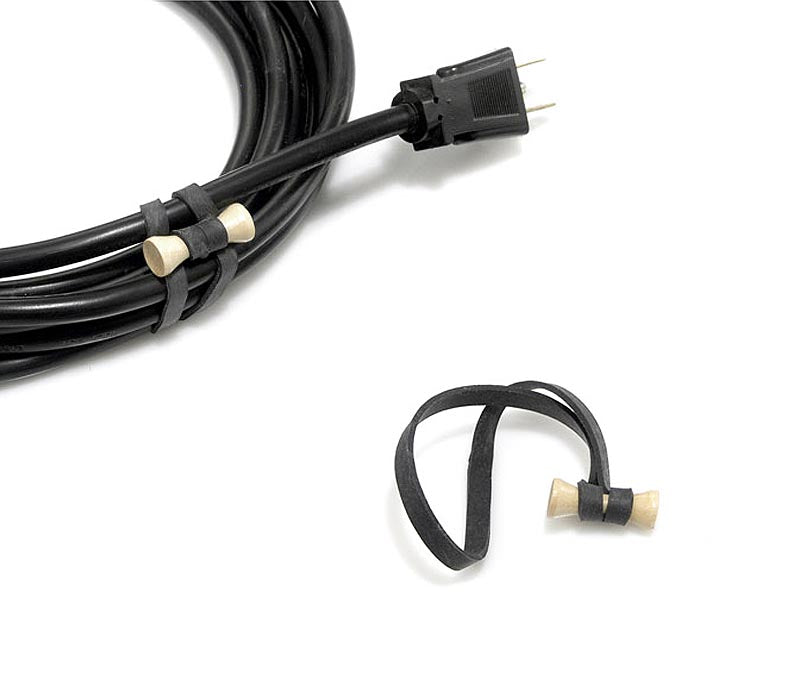
Bongo ties have become invaluable tools on every set from big budget to low. The rubber bands can be fastened by the “bongo” portion and are so simple to use they are essential to every makeshift mounting. They’re the C-47 of the camera department.
Pros:
- Cheap
- Quick / Convenient
- Easily detachable
Cons:
- Accessories can get loose with high speeds or rough handling
- Bands lose elasticity over time
5. Digital Camera Backs
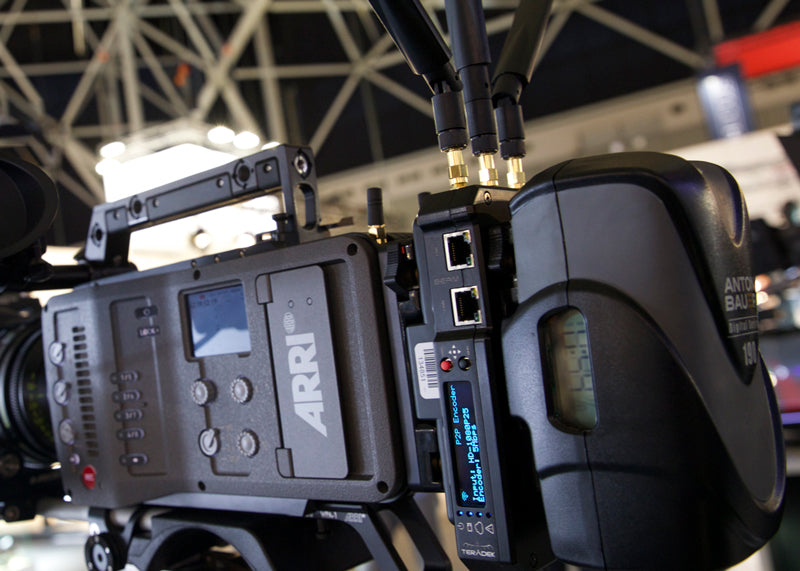
Certain cameras are designed to support camera back solutions, commonly of the Gold/V Mount variety. Because these cameras are very standard in our industry, accessories are often designed to support a camera-back workflow such as our Bond II, Beam, and Bolt with supplemental accessories.
Pros:
- Convenient
- Stable
- Built-in
- In-line Power solution
- Streamline ergonomics
Cons:
- Only devices with Gold/V Mount will work.
- Limited to the design of camera
- Due to the size of Gold/V Mount, form factor is relatively large
Most compatible devices have gold mount inputs and outputs so you can attach additional gold mount devices behind them.
Battery packs are always the last device in the camera back chain, and you’ll definitely want a device that’s durable like the 93Wh digital battery sold by Anton Bauer.
6. Light Stands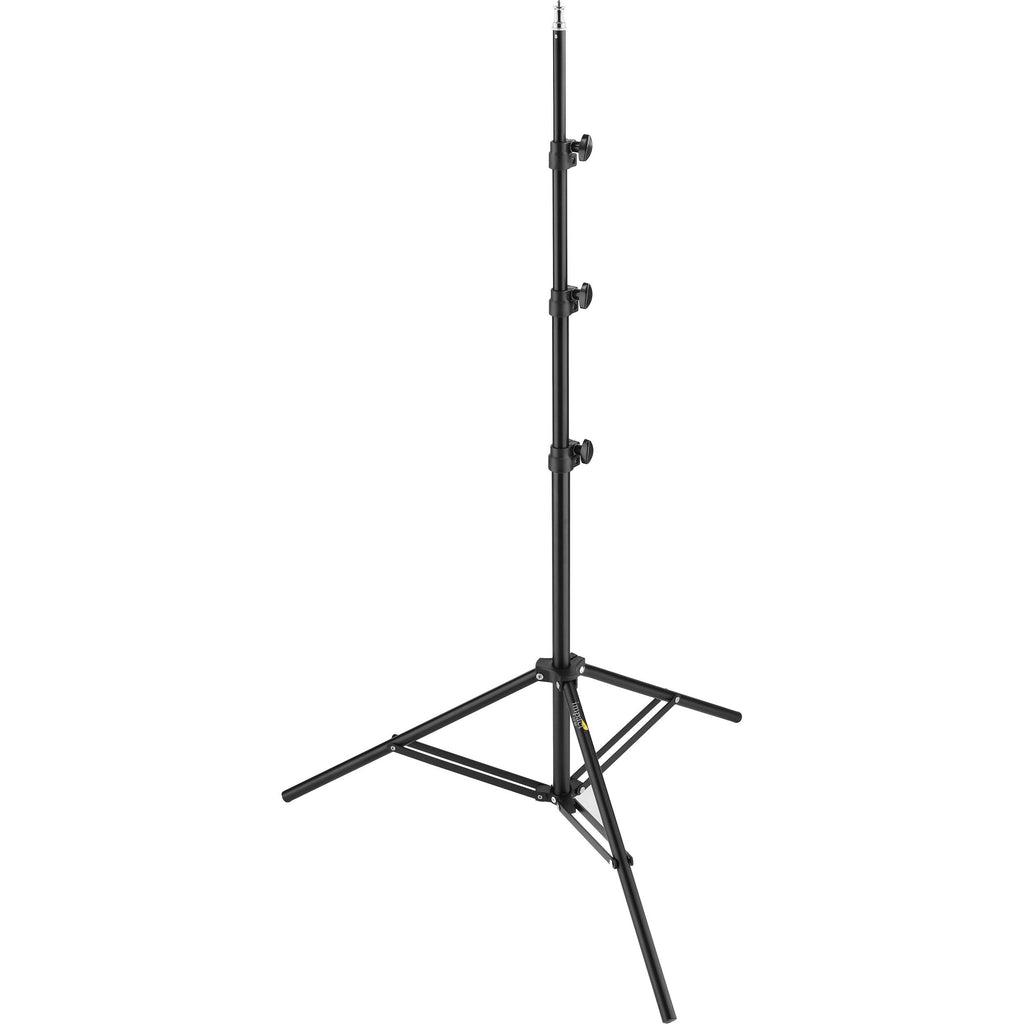
You will always find light stands and C stands on any production. These tools are perfect for mounting receivers, which give them a better connection to transmission systems from devices like the Bolt or Beam.
Pros:
- Allows you extended height for better reception
- Very available
- Can be moved from one place to another
Cons:
- Larger footprint
- Might require a sand bag for added stability
7. Arms
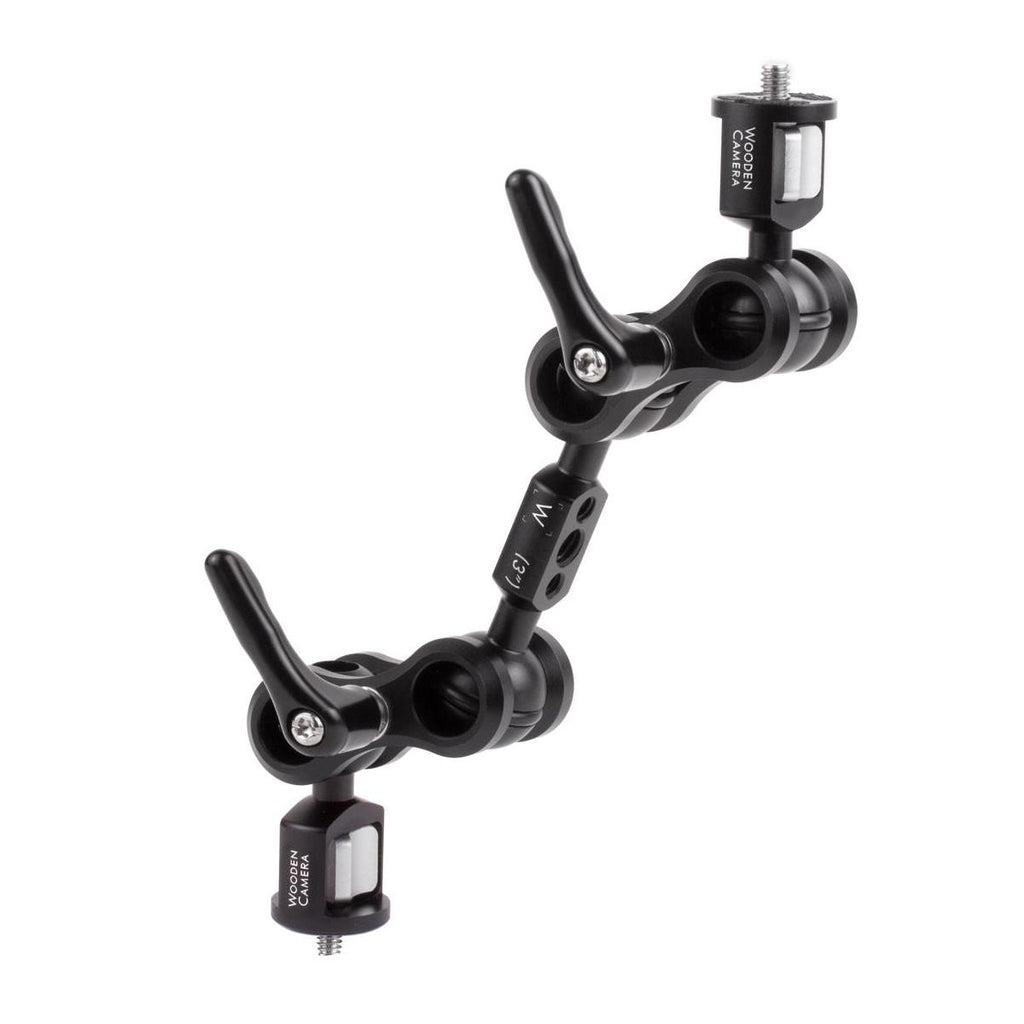
Arms vary in shape and size, and are usually attached to other devices besides cameras. However, there are arms that clamp onto cameras and act as either additional hot shoes or mounting screw slots.
Pros:
- Sturdy
- Allows for versatile placement because of articulation points
Cons:
- Tension could become loose over time.
There are many types of on-camera arms out there, and selecting the best one for your needs will be up to you. You can choose generic brands from various websites or from reputable companies such as Wooden Camera, which produces the Ultra Arm. The Ultra Arm is unique in that it offers the flexibility of switching out endpoints from ¼ 20” to ⅜ 20” male or female.
Mounting tools exist to make your life easier and safer, but it’s up to you to decide which configuration is the most efficient for your setup.
